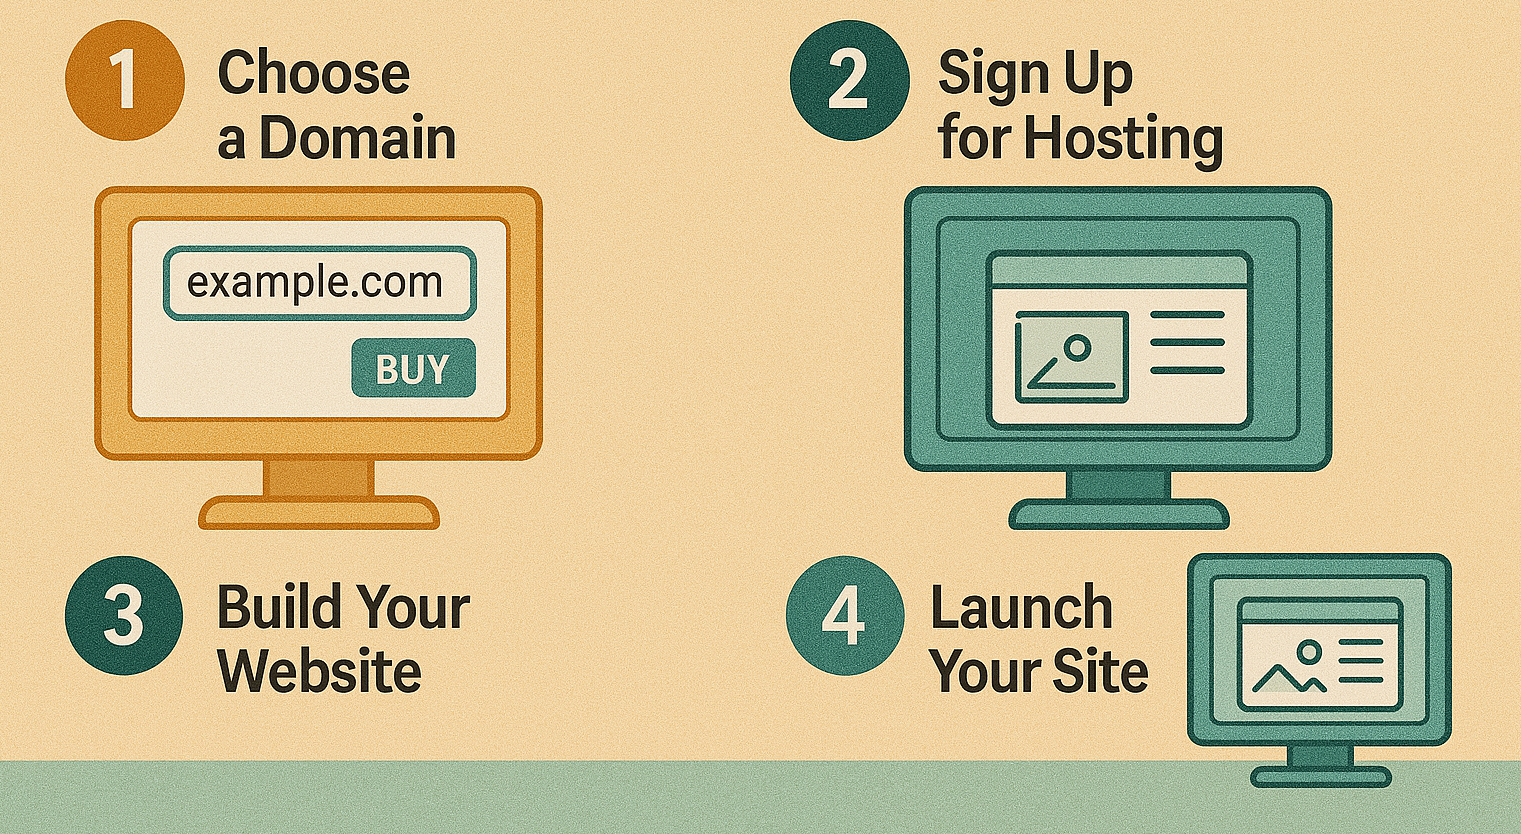
Thinking about launching a website? Whether it’s for a blog, business, or online store, SiteGround makes it easy. This guide will walk you through the process to get your website up and running in no time, especially if you’re new to building websites. Let’s dive in!
Why SiteGround?
Choosing the right web hosting is critical. SiteGround is popular because it combines reliable performance, exceptional customer support, and user-friendly features to help anyone from beginners to experts get their site online quickly. Plus, with top-notch security and speed optimization tools, it’s a great choice for anyone wanting to deliver a smooth, secure experience for visitors.
If you’re looking for a dependable hosting solution, check out SiteGround here.
Step 1: Choose Your Hosting Plan
SiteGround offers several hosting plans, each catering to different needs. Here’s a quick look at the options to help you pick the best one:
- StartUp Plan: Perfect for beginners or small websites.
- GrowBig Plan: Ideal if you’re planning to grow your site and need extra resources.
- GoGeek Plan: Great for high-traffic sites or businesses needing advanced tools.
Explore SiteGround’s hosting plans here to find the best one for your needs.
Step 2: Register Your Domain
Once you’ve selected a plan, it’s time to register a domain name (your web address). SiteGround offers domain registration services, making it convenient to get everything in one place.
- Enter your desired domain in the search box.
- SiteGround will check if it’s available. If not, they’ll suggest alternatives.
- Select your preferred domain and proceed.
Get your custom domain and hosting all in one spot with SiteGround.
Step 3: Complete Your Account Setup
After choosing a domain, you’ll need to enter your details and payment information. During this step, SiteGround will ask if you want any add-ons like Site Scanner or Daily Backup, which can be useful for added security.
Pro Tip: Don’t forget to take advantage of SiteGround’s introductory discount – it’s a great way to save when you’re just starting out.
Sign up for SiteGround and secure your discount on reliable web hosting.
Step 4: Install WordPress with One Click
Here’s where the magic happens: SiteGround makes it super easy to install WordPress (the world’s most popular website builder). After logging into your new SiteGround account:
- Go to your Site Tools dashboard.
- Select “WordPress” under “App Management.”
- Choose “Install and Manage” to start the installation.
With just a click, your WordPress site will be set up and ready for customization. No technical experience needed!
Experience how easy SiteGround makes WordPress installation by signing up here.
Step 5: Customize Your Website
Now it’s time to make your website look amazing. WordPress offers thousands of themes and plugins that help you design a unique, functional site without coding. Here’s how:
- Choose a Theme: Go to “Appearance” > “Themes” in WordPress. Browse free themes or upgrade to a premium one.
- Add Essential Plugins: Install plugins for SEO, security, and speed optimization.
Customize with ease thanks to SiteGround’s smooth WordPress integration. Get started now.
Step 6: Enable Essential Security Features
Security is one of the biggest reasons SiteGround is a top choice. They offer a range of built-in security features, including:
- Free SSL Certificates: Essential for any website, it encrypts data between your site and visitors.
- Daily Backups: Protects your data in case of unexpected issues.
- Site Scanner: Monitors your website for potential threats.
Protect your site effortlessly with SiteGround’s comprehensive security tools. Learn more.
Step 7: Launch Your Site!
Once you’ve customized your site and ensured it’s secure, it’s time to go live. SiteGround’s dashboard makes it easy to manage your site, from setting up email addresses to monitoring site traffic.
Simply hit “Publish” in WordPress, and your site will be live for the world to see!
Ready to launch your site with confidence? Start with SiteGround today.
Additional Tips for a Successful Site Launch
- Optimize Your Site’s Speed: SiteGround’s servers are optimized for fast performance, but you can improve even further with plugins like WP Rocket or SiteGround’s SG Optimizer.
- SEO Best Practices: Use an SEO plugin like Yoast to help with keywords, image tags, and other SEO essentials.
- Keep Content Fresh: Regularly add new content, update old posts, and engage with your audience to build traffic.
Conclusion: Build Your Website with SiteGround Today
Starting a website doesn’t have to be difficult, especially with a platform like SiteGround guiding you through each step. From choosing a plan to going live, SiteGround’s tools make the process easy, secure, and smooth.
Can I upgrade plans as my business grows?
1. Is it possible to upgrade my SiteGround plan later on?
Yes, SiteGround makes it easy to upgrade plans as your website’s needs grow. You can seamlessly upgrade from one hosting plan to another with minimal downtime.
2. How does the upgrade process work?
The upgrade process is simple and can be done directly from your SiteGround account. Once you select your new plan, SiteGround will handle the migration to ensure a smooth transition without any interruptions to your website.
3. Will upgrading affect my site’s performance?
Upgrading to a higher-tier plan will typically improve your website’s performance, especially if you are experiencing increased traffic or require additional resources.
4. Are there any fees for upgrading my SiteGround plan?
There are no additional fees for upgrading; you only pay the difference in plan costs. SiteGround’s support team can help you select the best plan for your growing needs.
5. What are my options for upgrades on SiteGround?
SiteGround offers multiple plans for shared hosting, cloud hosting, and even dedicated hosting solutions. As your website grows, you can upgrade within shared hosting or move to more powerful hosting solutions like cloud hosting.
