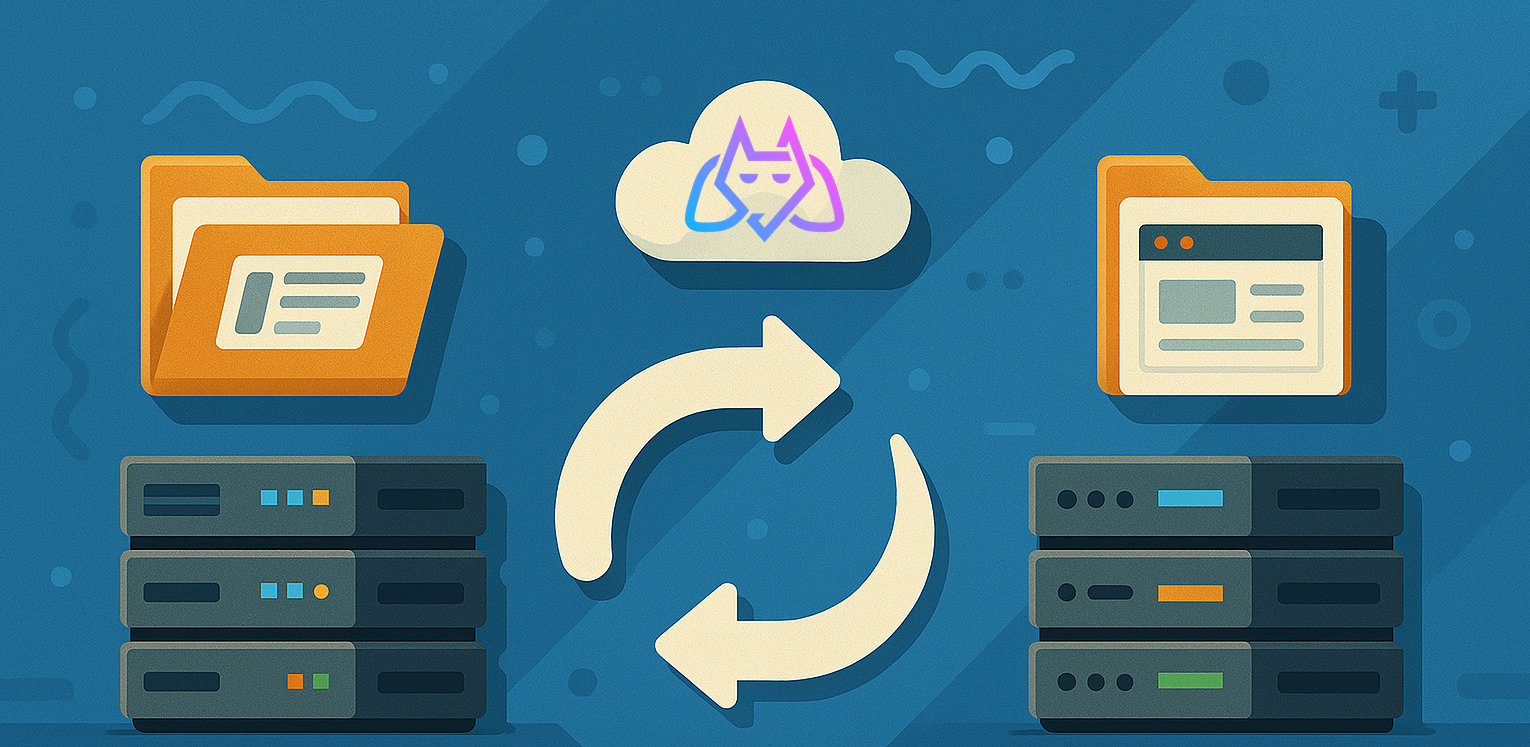
Migrating your website to a new host can feel daunting, but with the right guidance, it’s entirely manageable—and beneficial! Whether you’re seeking faster loading times, more robust security, or a specialized server for gaming, moving to Godlike.host could be a game-changer. In this guide, we’ll walk you through each step of migrating your website to Godlike.host, ensuring a smooth transition. Let’s dive in!
Why Choose Godlike.host?
Godlike.host offers exceptional hosting services, particularly for users needing high-performance game servers, reliable website hosting, and top-tier customer support. Here are a few standout features:
- High-speed servers – optimized for speed and reliability.
- 24/7 support – expert assistance when you need it.
- Scalability – options for different hosting needs, from small websites to high-demand gaming communities.
- Affordable pricing – competitive rates, giving you premium service without breaking the bank.
If you’re ready to migrate, let’s go through the steps to ensure you make the most of what Godlike.host has to offer.
Step 1: Prepare Your Website for Migration
Before starting, it’s essential to back up your website’s files and database to prevent data loss during the transition.
1.1 Back Up Your Website Files
- Log in to your current hosting account’s control panel.
- Use File Manager to locate your website’s files, or download them via FTP (File Transfer Protocol).
- Download the entire public_html folder or specific files for your website, such as images, scripts, and theme files.
1.2 Export Your Database
Most websites run on a CMS (like WordPress) that stores data in a database. Here’s how to export it:
- Go to phpMyAdmin in your hosting account.
- Select your website’s database from the left sidebar.
- Click on the Export tab, and choose Quick Export or Custom Export for more advanced options.
- Save the file to your computer.
Pro Tip: Use Automated Backup Tools
For users less comfortable with manual backups, consider an automated backup plugin or tool that handles this for you, such as UpdraftPlus for WordPress.
Step 2: Set Up Your Godlike.host Account
If you haven’t already, sign up for a Godlike.host account. Choose a plan that best suits your needs; Godlike.host offers various packages optimized for different website types, including game servers.
- Sign up for an account on Godlike.host’s website.
- Select your preferred hosting package based on your site’s size and requirements.
- Complete the checkout process, and you’ll receive an email with your new hosting details.
Step 3: Upload Your Website Files to Godlike.host
With your new hosting account set up, it’s time to transfer your files to Godlike.host.
3.1 Use FTP or File Manager
Godlike.host offers a straightforward file manager in its control panel, or you can use an FTP client like FileZilla.
- Log in to the control panel and open the File Manager or connect via FTP using the credentials provided.
- Navigate to the public_html folder on your new Godlike.host server.
- Upload your website files from the backup you downloaded earlier.
3.2 Import Your Database to Godlike.host
- In your control panel, go to phpMyAdmin.
- Select Import and upload the SQL file you exported from your previous host.
- Make sure your new database name and user match those in your website’s configuration file.
Step 4: Update DNS Settings
For your domain to point to Godlike.host, you’ll need to update your DNS settings.
4.1 Locate Godlike.host’s Nameservers
Upon signup, Godlike.host will provide you with nameserver details. Commonly, they look something like this:
- ns1.godlikehost.com
- ns2.godlikehost.com
4.2 Update Your Domain Registrar
Log in to your domain registrar (like GoDaddy, Namecheap, etc.), and navigate to DNS settings. Replace the existing nameservers with Godlike.host’s.
- Go to your domain settings in the registrar.
- Select Manage Nameservers and update with the provided nameservers.
- Save your changes; note that DNS updates can take 24-48 hours to propagate fully.
Step 5: Test and Troubleshoot Your Website
Once everything is uploaded and your DNS settings are updated, it’s time to test your site. Here’s how to ensure everything is working correctly:
- Check for broken links and images to confirm that all files were transferred successfully.
- Test your forms, plugins, and any interactive elements to ensure smooth functionality.
- Use website speed testing tools (like Google PageSpeed Insights) to evaluate your site’s performance on Godlike.host.
Common Troubleshooting Tips
- Error 404: Often due to file paths not matching. Double-check that files are in the correct directories.
- Database connection errors: Ensure your database name, username, and password in the config file match those on your new server.
Step 6: Notify Your Visitors (Optional)
If your website attracts regular visitors, consider announcing the move. Letting them know about improved performance or new features can build anticipation and help maintain engagement.
Wrapping Up Your Migration to Godlike.host
Migrating to Godlike.host brings excellent advantages, especially if you need high-speed, reliable hosting tailored to your site’s unique needs. This hosting provider’s robust infrastructure, particularly for gaming sites and businesses needing dedicated servers, makes it a top choice for anyone looking to enhance their web presence.
If you’re ready to enjoy faster speeds, improved security, and unmatched customer support, click here to get started with Godlike.host. Following these steps, you’ll be all set for a seamless migration, so your site can start performing at its best on Godlike.host.
