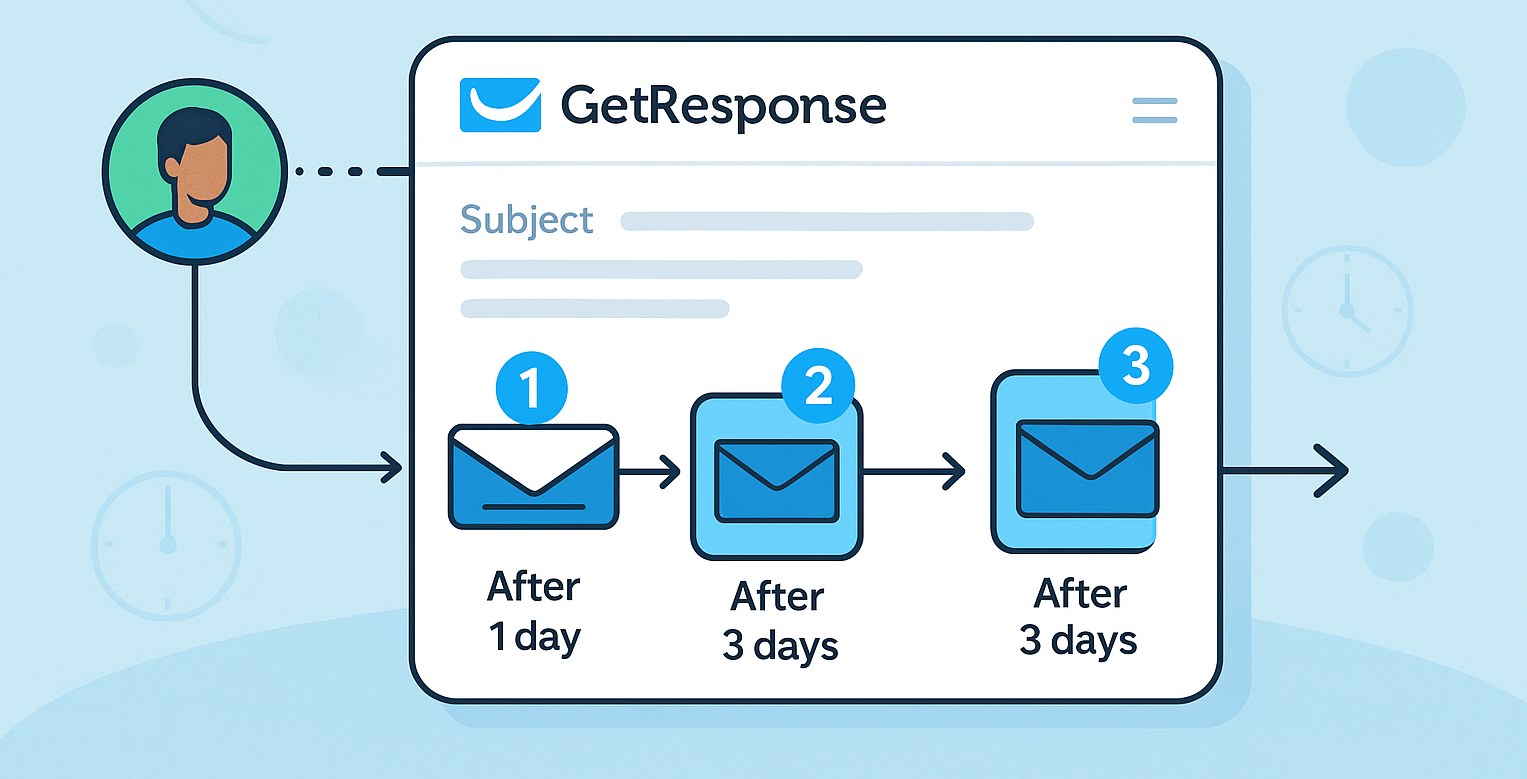
Setting up an autoresponder is one of the best ways to automate your email marketing efforts, save time, and build a lasting connection with your audience. If you’re looking for a straightforward solution, GetResponse makes it incredibly easy. In this guide, I’ll walk you through the step-by-step process to create an autoresponder using GetResponse, so you can boost engagement and turn leads into loyal customers. Plus, I’ll share a few insider tips to maximize your results. Ready to get started? Let’s dive in!
What is an Autoresponder and Why Use GetResponse?
Before we get into the setup process, let’s quickly discuss what an autoresponder is. An autoresponder is an automated series of emails sent out based on a schedule or user actions. For example, when someone subscribes to your newsletter, you can automatically send them a welcome email, followed by a series of helpful messages that nurture your relationship.
Using GetResponse for your autoresponder offers several advantages:
- User-Friendly Interface: You don’t need to be a tech wizard to create automated emails.
- Advanced Automation: Create complex workflows tailored to specific user actions.
- Great for Beginners and Experts: GetResponse is ideal whether you’re just starting out or already a pro.
Want to experience the full potential of GetResponse for your email campaigns? Sign up for a free trial here.
Step-by-Step Guide: How to Create a GetResponse Autoresponder
Step 1: Sign in to Your GetResponse Account If you don’t have a GetResponse account yet, click here to create one. Once you’re logged in, head over to the ‘Autoresponders’ section from the dashboard.
Step 2: Create a New Autoresponder Click the ‘Create autoresponder’ button. You’ll be prompted to name your autoresponder. Choose a name that reflects its purpose, like “Welcome Series” or “Product Launch Sequence.”
Step 3: Set the Time and Trigger Conditions Next, you’ll select the day and time for your autoresponder emails to be sent. For example, you can set Day 0 as the welcome email, which will be sent immediately after someone subscribes. You can then schedule follow-up emails on Day 1, Day 3, and so on.
Pro Tip: Use time-based triggers for consistent follow-ups, like sending a follow-up email 2 days after the first welcome message.
Step 4: Design Your Emails Now it’s time to craft your emails! GetResponse’s drag-and-drop email editor allows you to create professional-looking emails with ease. Simply drag elements like images, buttons, and text blocks to design your email. Make sure to keep your message clear and engaging.
Step 5: Preview and Save Before activating your autoresponder, use the Preview feature to see how your emails will appear on both desktop and mobile. Once everything looks good, click ‘Save’.
Step 6: Activate Your Autoresponder Toggle the status to Active, and your autoresponder will begin sending emails according to the schedule you’ve set. Now, every new subscriber will automatically receive your series of emails—it’s that easy!
Ready to take your email marketing to the next level? Sign up for GetResponse here and start automating today!
Tips for Creating Effective Autoresponders with GetResponse
- Personalize Your Emails: Use GetResponse’s personalization features to include the recipient’s name, which can increase engagement.
- Include a Clear Call to Action (CTA): Every email should have a purpose. Whether it’s reading a blog post, checking out a product, or joining a webinar, make sure your CTA is prominent.
- Track Performance: Use GetResponse’s analytics to see which emails perform best and tweak your strategy for better results.
By following these tips, you’ll create an autoresponder that not only engages but converts!
Why Choose GetResponse for Your Autoresponder?
GetResponse isn’t just any email marketing tool. It’s designed to help you automate, personalize, and grow your list effectively. Plus, with features like A/B testing, advanced segmentation, and comprehensive reporting, you can continually optimize your campaigns.
If you want to streamline your email marketing efforts and reach your audience with precision, GetResponse is the tool you need. Try GetResponse for free now and experience the benefits of automation firsthand!
Creating an autoresponder with GetResponse is simple yet powerful, enabling you to stay connected with your audience even while you focus on other aspects of your business. Follow the steps outlined above, and you’ll be up and running in no time. And remember, every successful email marketing campaign starts with the right tools—so don’t hesitate to get started withGetResponse today!
Happy emailing, and here’s to growing your business with ease!
